In this article, you will discover all the main tools that can help you build your first user flow diagram in Overflow. As there is a wide variety of things you can build, this should not be considered a step-by-step guide but, rather, an overview.
Sync or import your designs
Bringing in your designs is a major part of building user flows and presentations. This can be done in Overflow in two main ways.
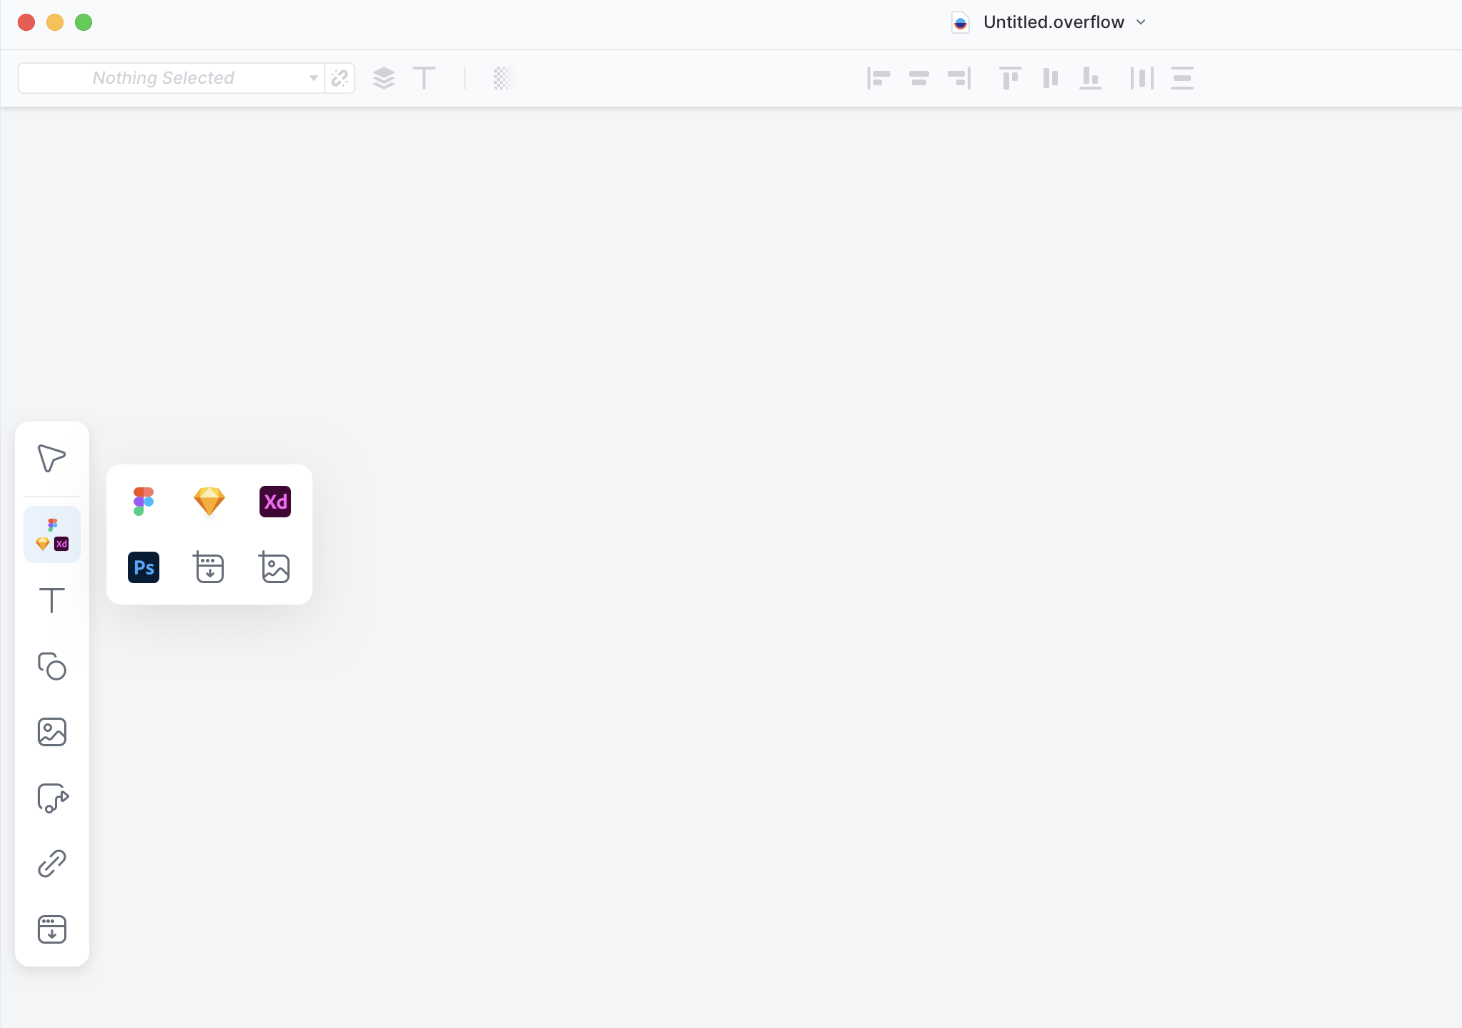
You can sync designs from Adobe XD, Sketch, Figma, and Adobe Photoshop. Sketch, in particular, comes with a plugin that installs itself upon Overflow installation.
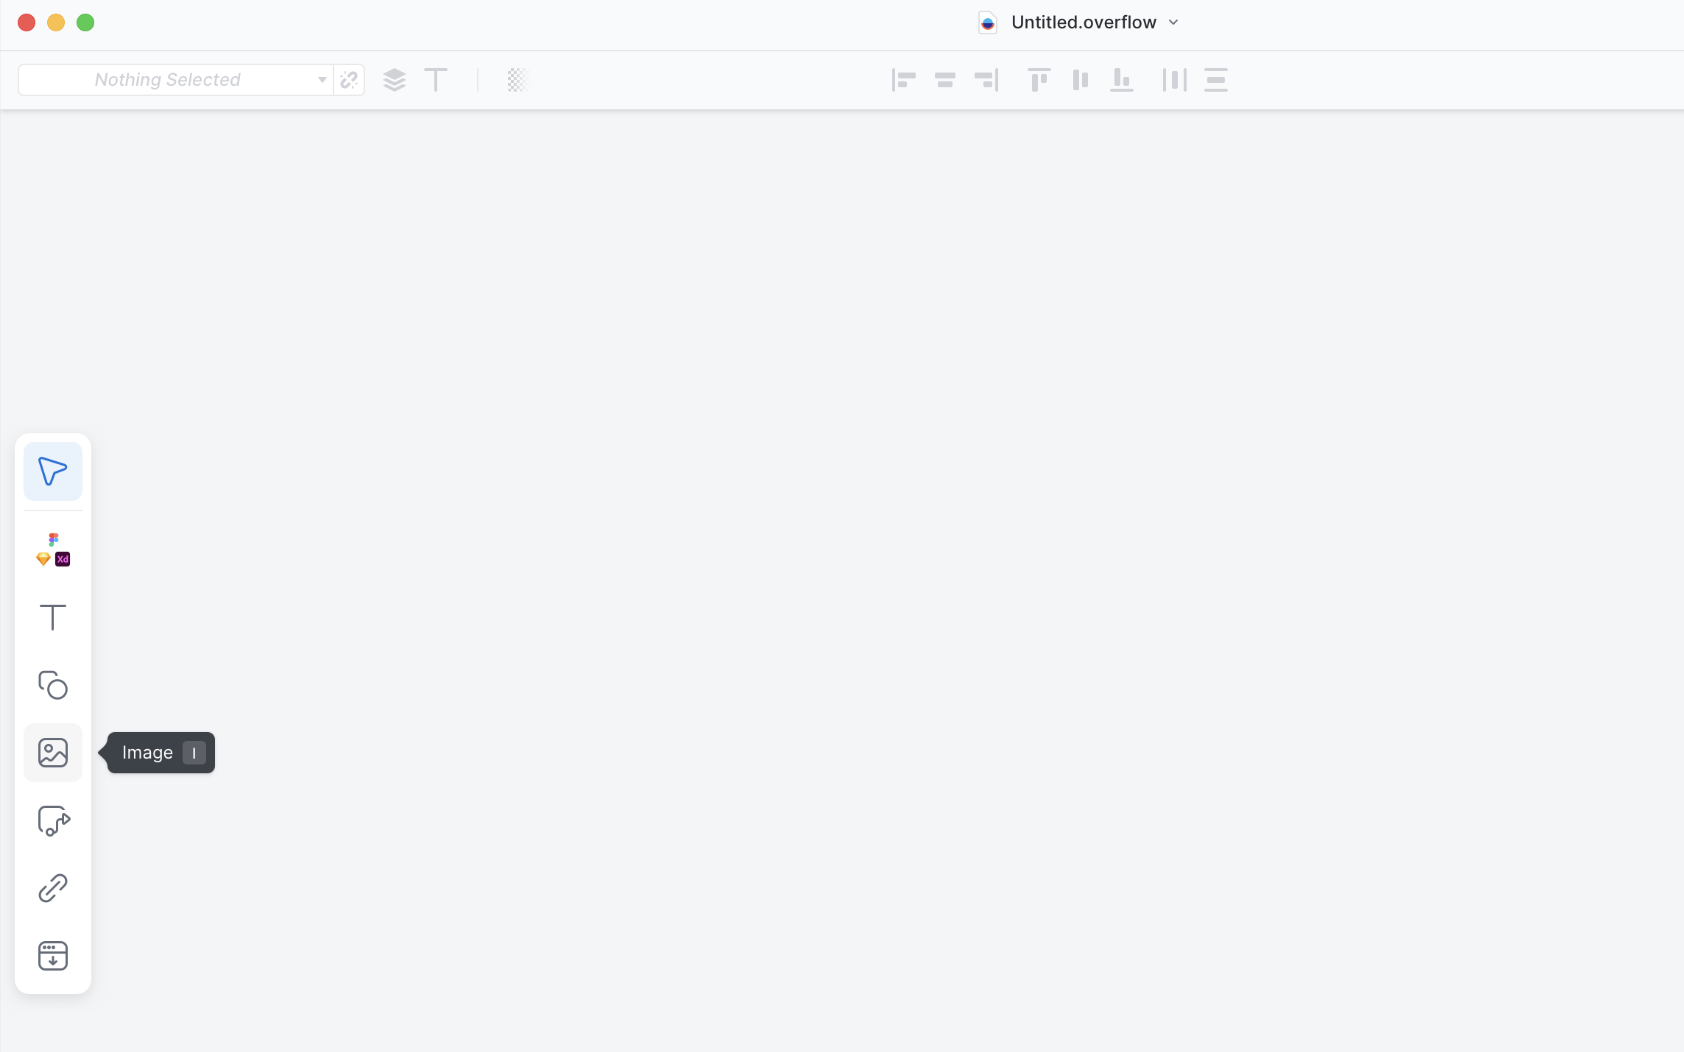
If you have saved your designs in image format on your device, you have the option to copy and paste images directly on the canvas or to insert images as screens.
Add connectors
Once you have laid out your screens, you can connect them with connectors. If you synced your designs from a design tool, all your original layers remain identifiable in Overflow. This allows you to use any of those as the starting point to draw connectors.

Alternatively, you can create hotspots on screens for the same purpose. This is particularly useful in the case of images you uploaded directly from your device, for which no layers are identified.
Draw shapes
Shapes can play various roles, depending on the type of user flow you are aiming for. They can be used to signify screens, steps, or processes in early concept diagrams, mark decision trees, or even mark the borders of separate sub-flows.
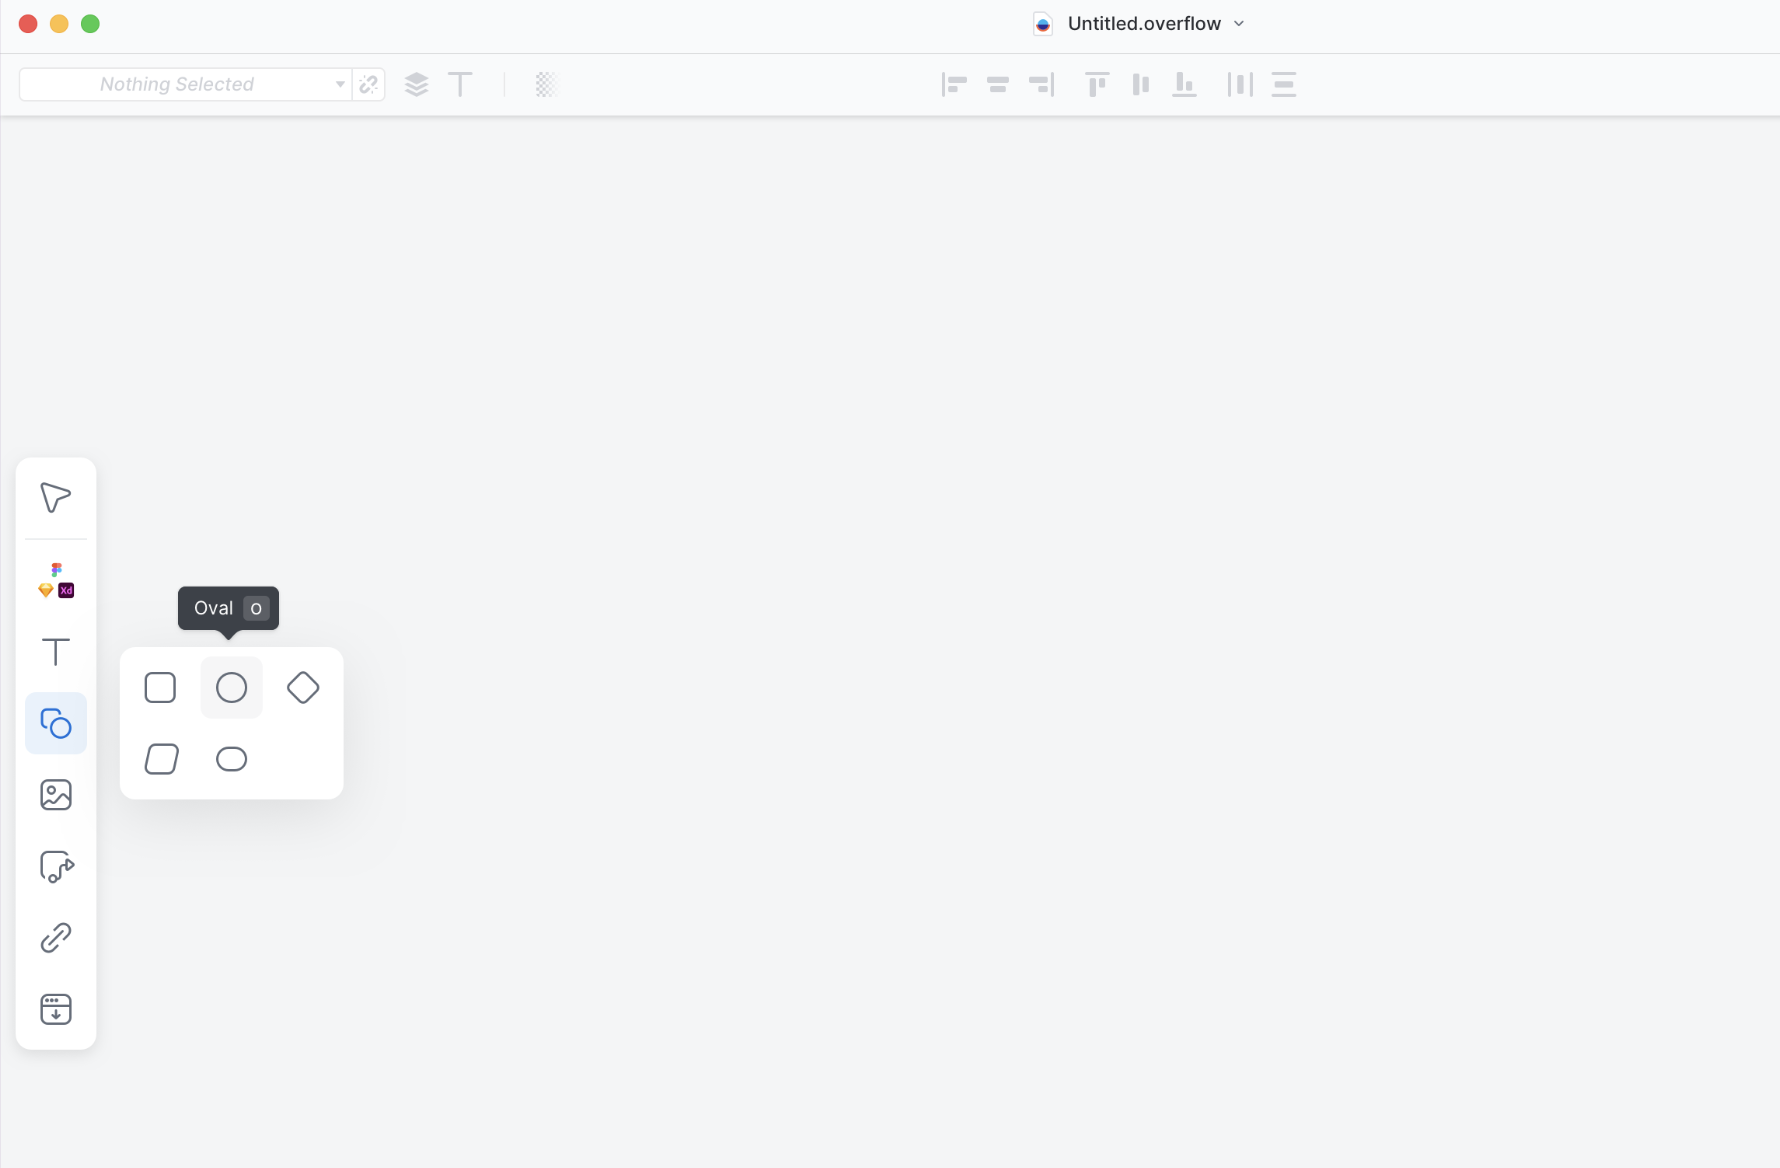
There are five types of shapes you can draw with Overflow: rectangles, diamonds, capsules, parallelograms, and ovals. Once you draw a shape, you can easily edit its style, dimensions, opacity, as well as add text inside based on your needs.
Add text
Text also is a versatile element in user flow diagramming. It can be used to provide context and clarity for your audience, especially when you share your work remotely without prior introductions.
You can add text anywhere on your canvas by clicking on the + icon at the top left of your Editor screen and picking the 'Text' option. Alternatively, click on any element already placed on your canvas and the T icon at the top of your screen will become active. Click on that to add text inside that specific item.
Add device skins
Device skins give a sense of professionalism and consistency to your diagram. After importing screens to Overflow, you can turn device skins on as shown below:
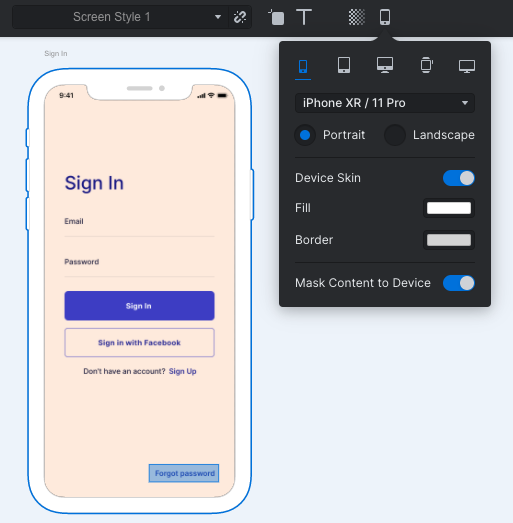
Overflow identifies the closest device to your screen size, however you can pick any other from the drop down menu at the top. For long screens, you have the option to mask the content to fit the device. Note that masked content is scrollable while presenting in Rapid Prototype mode.
Change element Styles
Overflow Styles are a great way to add consistency and branding elements to your user flow diagram and win the first impression, while presenting your work.

Styles are basically a set of color, line, typeface, and other properties that you have applied to a specific element, and which you want to standardize throughout all similar elements in your project. Overflow comes with a set of pre-defined Styles but you can also create your own.